ATMOS41 Weather Station Installation Instructions
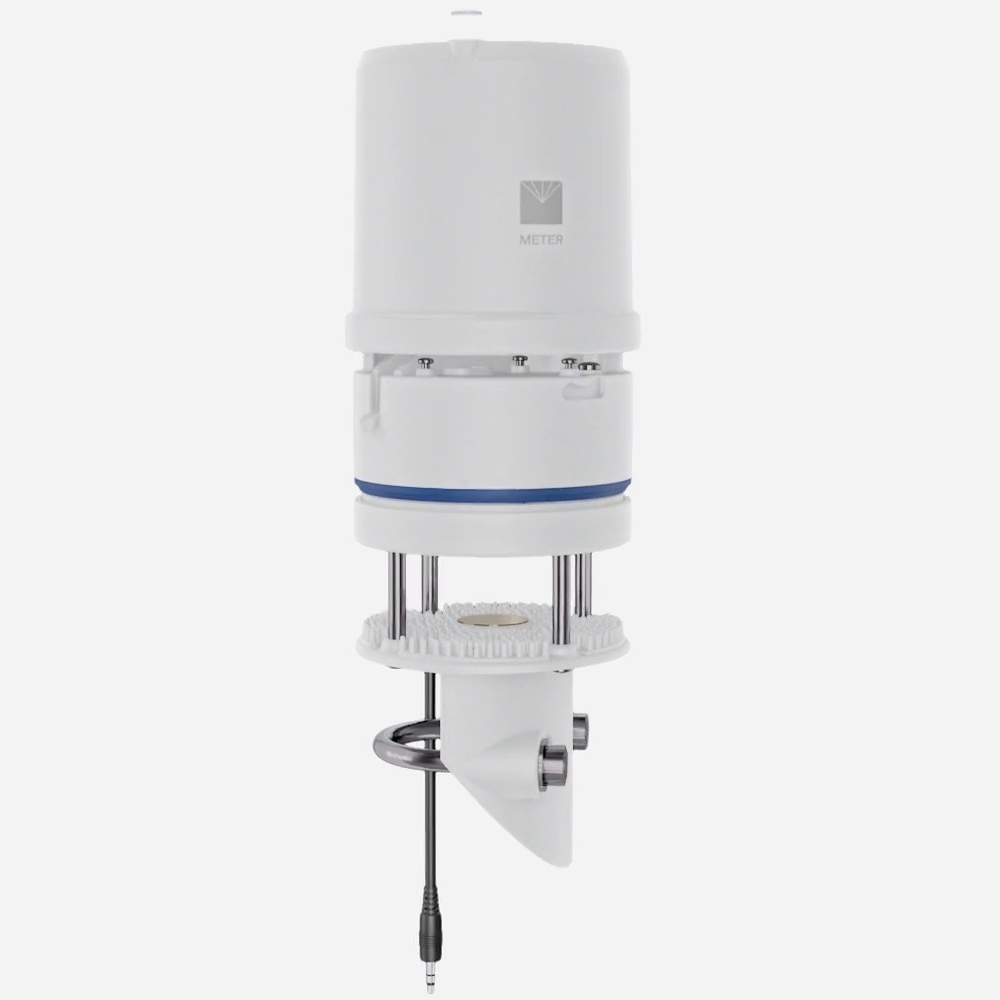
The ATMOS 41 packages 12 weather sensors into a single, compact device for atmospheric conditions including temperature, humidity, rainfall, wind and solar radiation. Outlined in the below image, it is a very compact device that is quick and easy to set up in the field.

To install in the field, follow these steps to ensure effective installation:
Find a pole or post that is 2.5 meters in height. The post or pole should also be 40 millimeters wide in diameter so the sensor fits on nicely to the top of the pole.
Fit the sensor to the top of the post or pole, making sure it is nice and tight so that there is no movement.
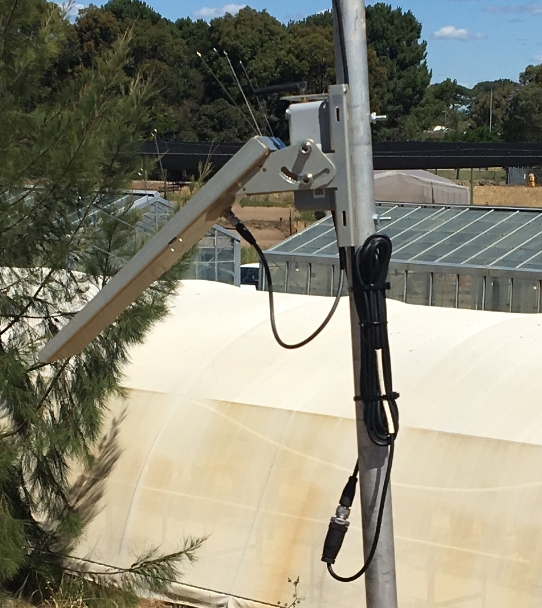
As outlined below, the solar panel should be fitted to the post or pole by using screws or bolts. Cable ties are also an option but are not as strong as bolting it on. Please keep in mind you want the solar panel to get a couple of hours sun a day. In the southern hemisphere, face the solar panel to the north. And in the Northern hemisphere, face the solar panel to the south.
Attach the wildeye data logger to the solar panel with the screws provided. An example is shown below of how the data logger sits in the solar panel.
Connect the wildeye charging output to the underside of the solar panel.

Attach the ATMOS41 sensor to your Wildeye data logger by connecting the two M12 plugs ensuring they are done up nice and tight so they are waterproof.
Hold down the test button on the data logger for 5-6 seconds until a solid blue light appears. The blue light will then begin to flash which will follow by a solid green light - this will ensure your data logger is turned on and functioning properly.
Dig a hole half a meter feet deep with diameter of 30cm.
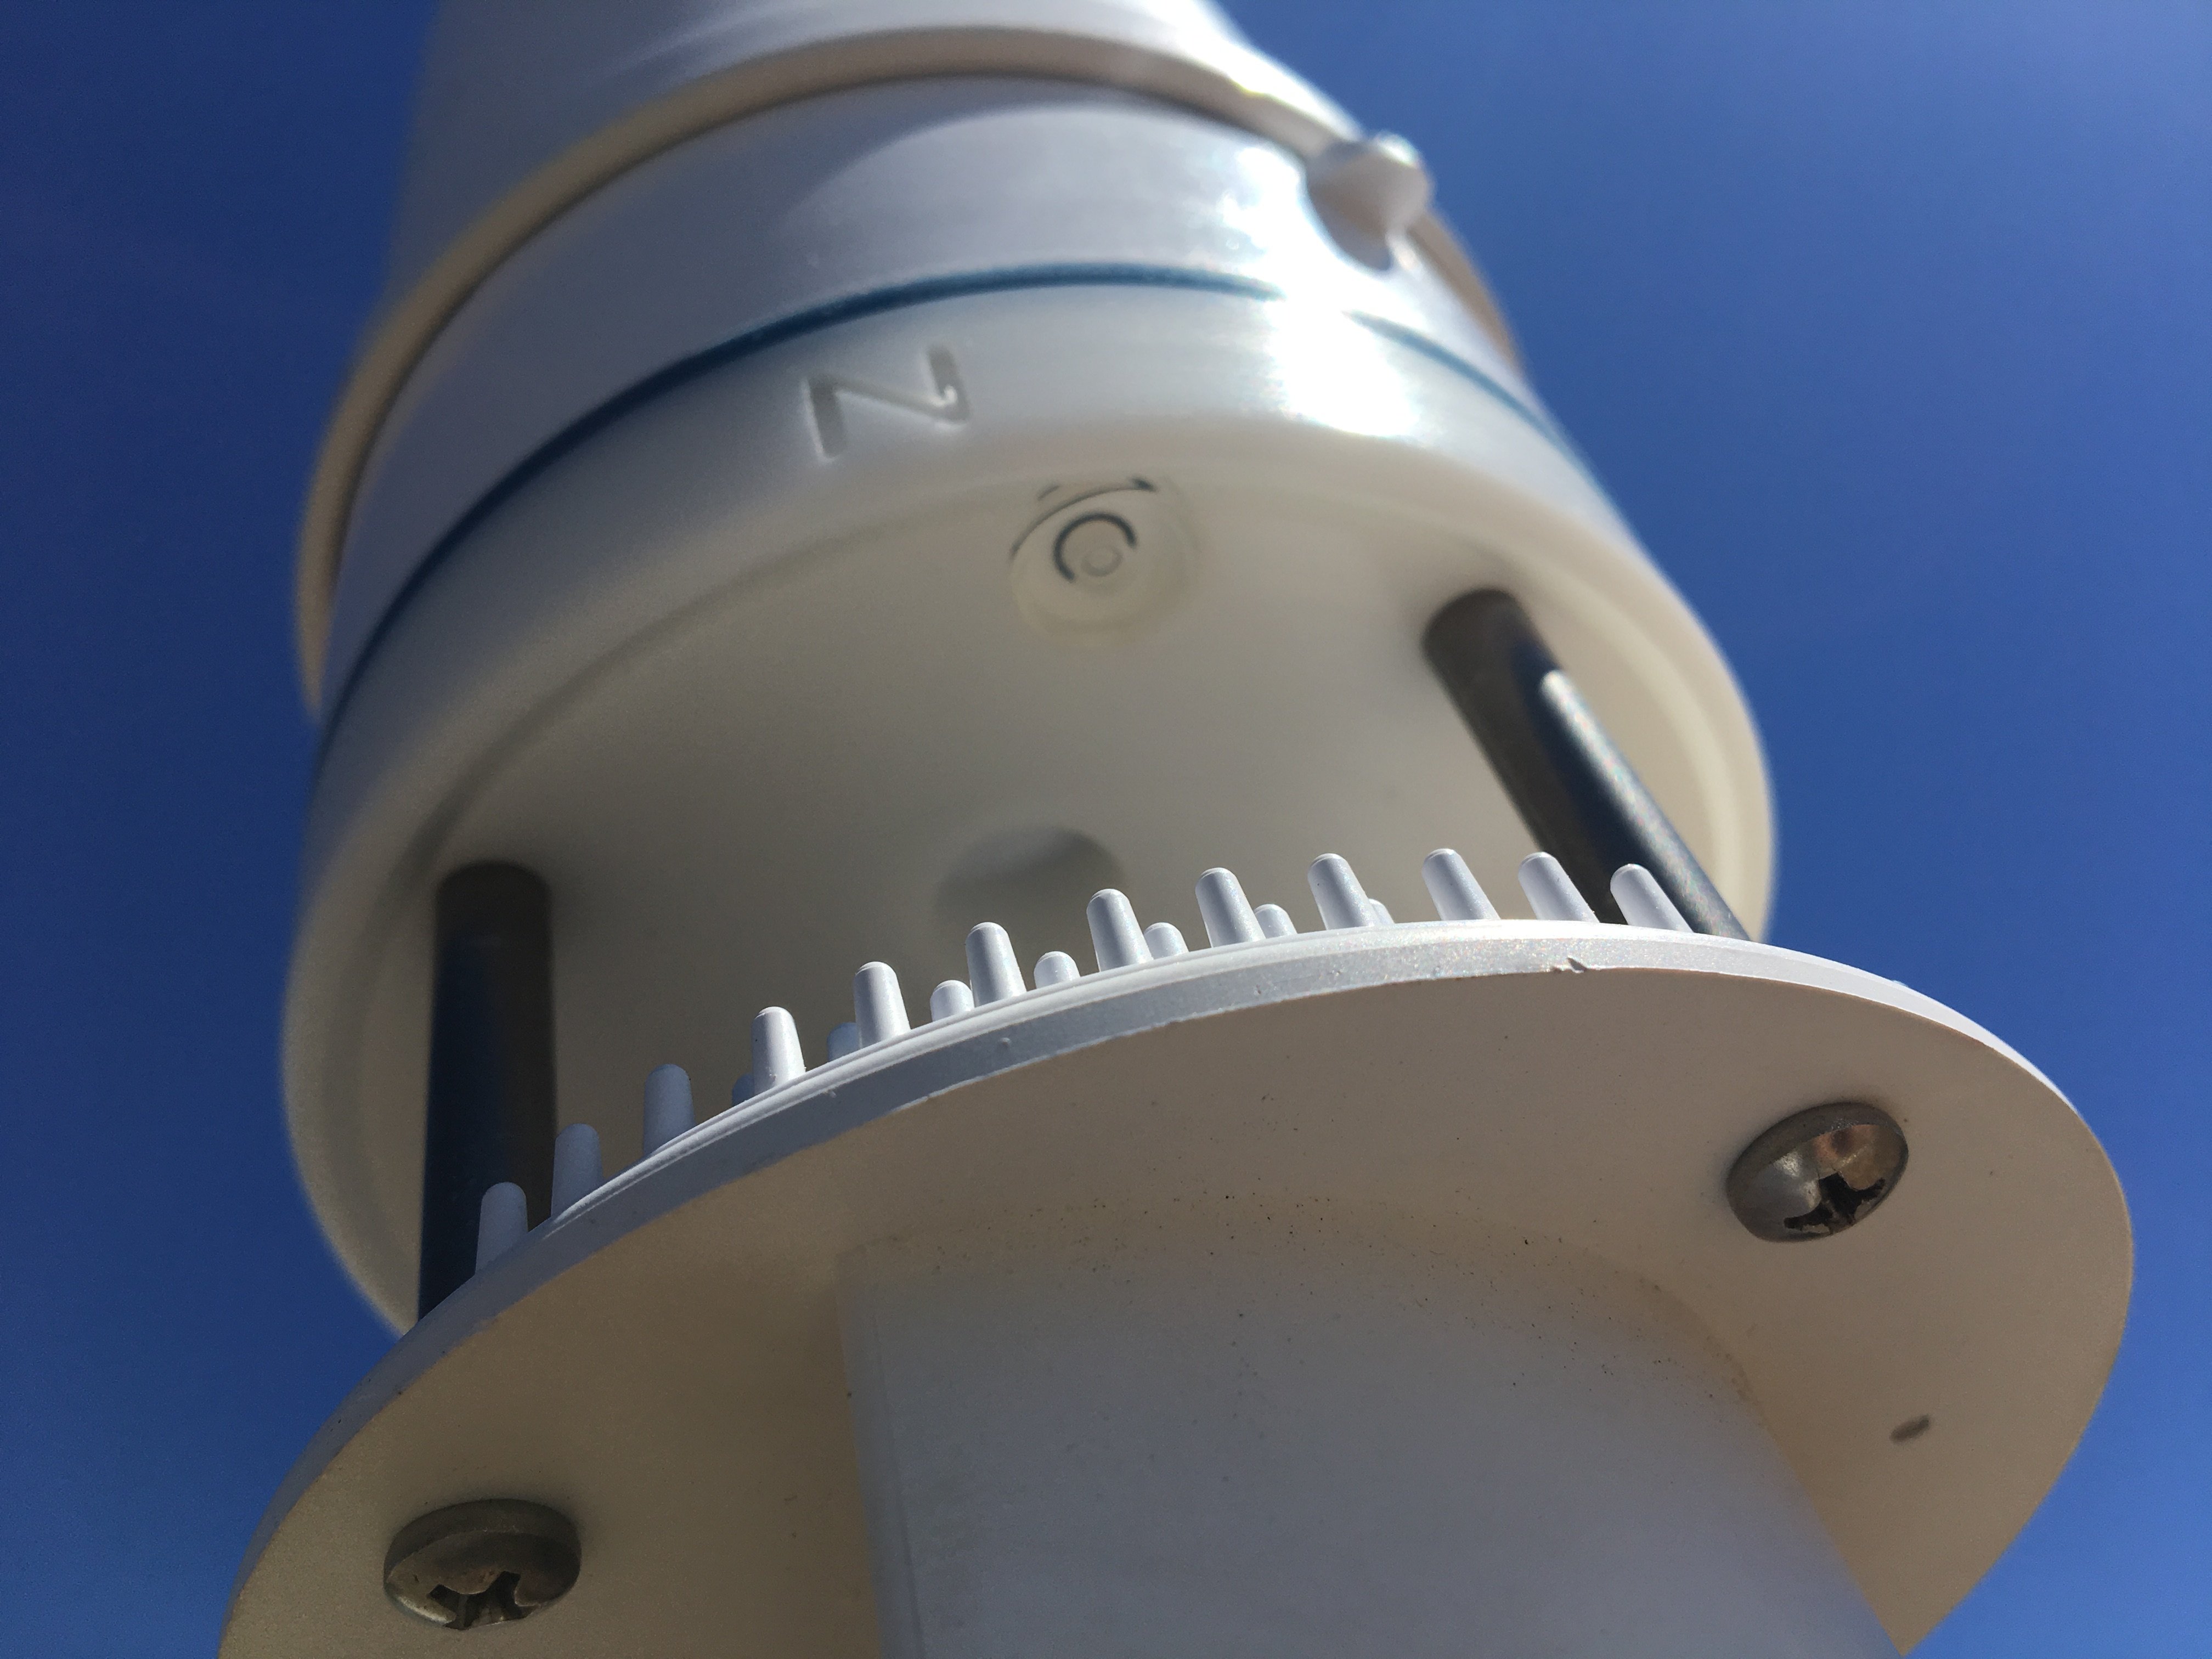
Insert the pole, keep it upright and fill the hole with quick set cement. The N outlined in the below image needs to be facing due north and the bubble, also shown, needs to be within the dark circle. This will ensure the sensor is level.

Once the sensor is level, continue to hold the pole until the cement is dry and there is no movement at all. This will ensure your weather station stays set up correctly.
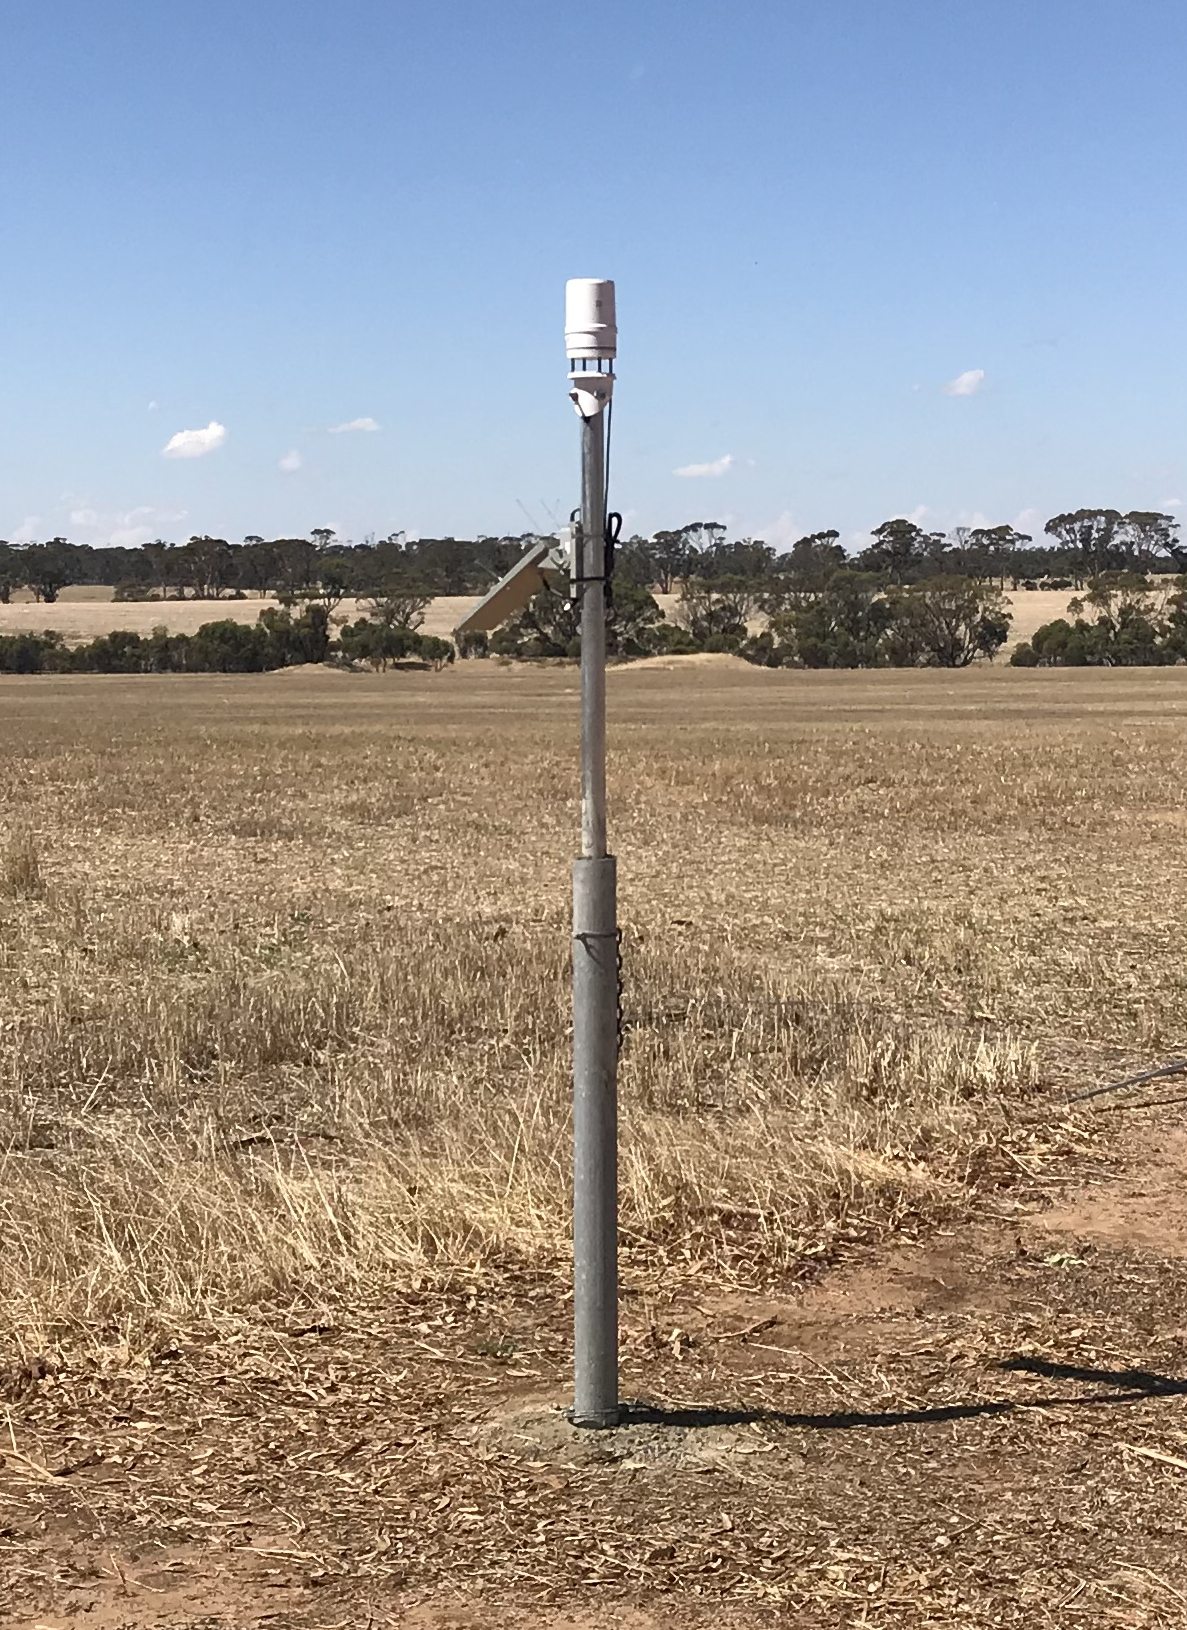
Below is an image of a fully set up ATMOS41 weather station with the sensor itself sitting 2 meters above the ground.

Issues found with ATMOS41 weather stations:
ATMOS41 sensors can sometimes record high unrealistic or false rainfall data. To counter this, a Calculated Input V2 can be created which limits the input value between two values (max and min).
For more information on how to limit input values between two values please see How to limit input data
