Requirements:
-
Wildeye logger with an "A" in the name i.e. WILD-E-R-MAC-MAS
-
Pressure transducer
-
Click on the sites tab at the top of the screen.
-
Locate the site that you want to add a pressure transducer to and click on it's wrench icon

-
Locate the button "Sensor" Button
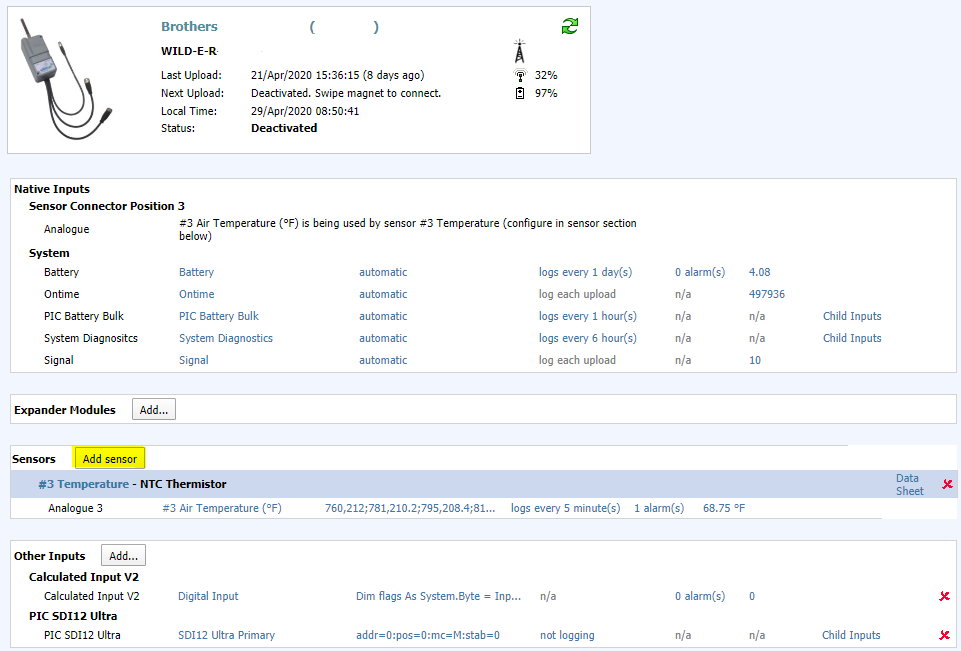
-
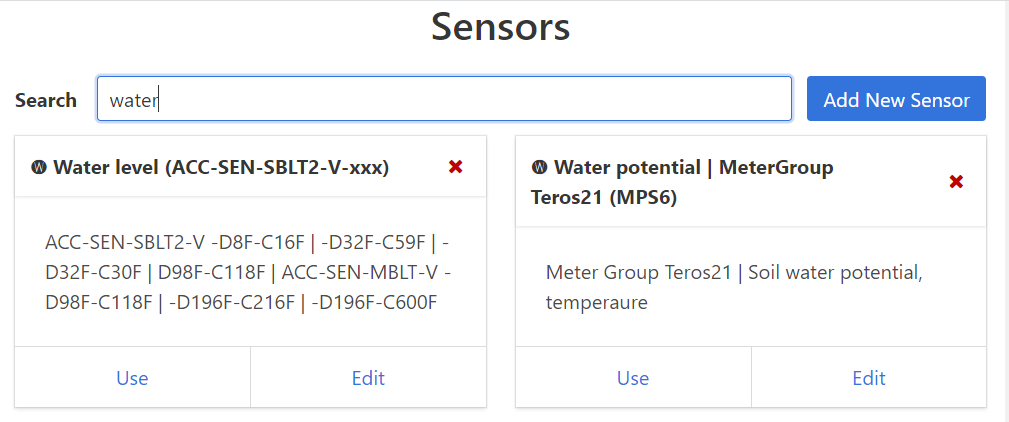
Start typing in the manufacture of the transducer, or "water level"
-
Click the "Use" button
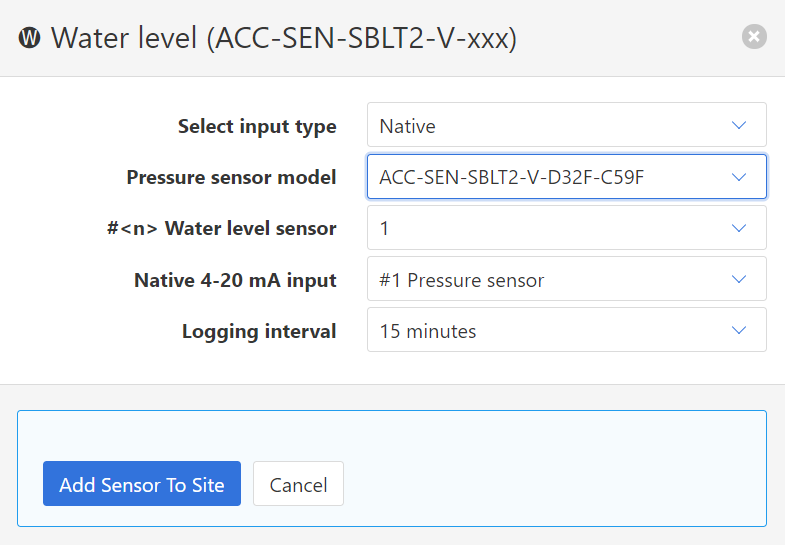
When selecting the drop downs
-
Native vs ACC-EXP
-
Native: This is the regular cable with no box
-
ACC-EXP: This is a very unique cable with a small box that is inline with the cable that connects to the pressure transducer
-
-
Pressure Sensor Model: Compare the part code from the order to select the correct sensor
-
<n> Pressure Sensor: This helps distinguish between cable 1 and cable 2
-
Native 4-20mA input: The drop down will vary by name depending on the logger used. The choices will match what is listed under the "Native Inputs". i.e. if "Sensor Position 1" has a name of MAC 4-20mA, that name will apper as it does on the Native Inputs.
-
Note: When planning which cable you'll be attaching the pressure transducer, that is the side that will need to
-
Click "Add Sensor to Site"
Verify Readings:
-
Press the test button till a solid blue light appears, wait for the green LED which means that the logger connected to the cloud
-
Check the readings show close to zero
-
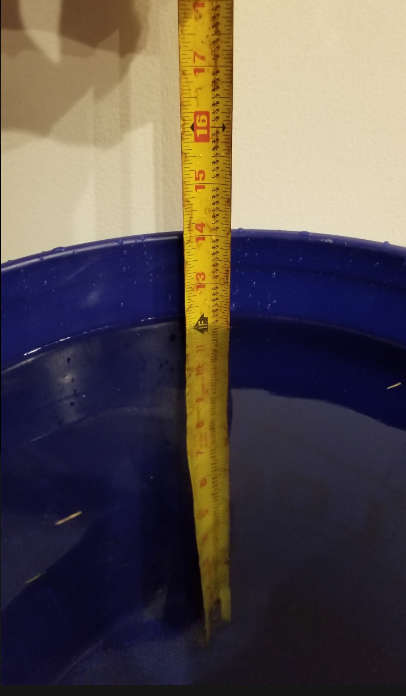
Insert the level transducer into a bucket with a tape measurement tool on the side
-
Press the button, wait for it to turn green
-
Take a picture of the tape measurement and water level and send it to supportusa@mywildeye.com along with the op number