Wildeye standard Weather Station Installation Instructions
Installation instructions
Tools and other equipment required:
Allen keys - to alter angle of the solar panel
Shovel - to dig hole for your pole
Cable ties - to secure the solar panel and any loose cabling to the pole
Quick dry cement and water - will secure the pole in the ground
Spanner - to tighten up U-bolts
Phillips head screwdriver
Firstly, you want to use a stainless steel pole which is 2.75 meters high and 40-60 mm wide. It is best to secure all parts of the weather station to the pole before inserting in the ground.
The wildeye data logger can be secured to the inside part of the solar panel as shown below with the bolts that come with the solar panel. The bird spikes can also be secured through the slots in the sides of the solar panel. Please also ensure the M8 charging connector is secured to the under part of the solar panel. This is shown below.
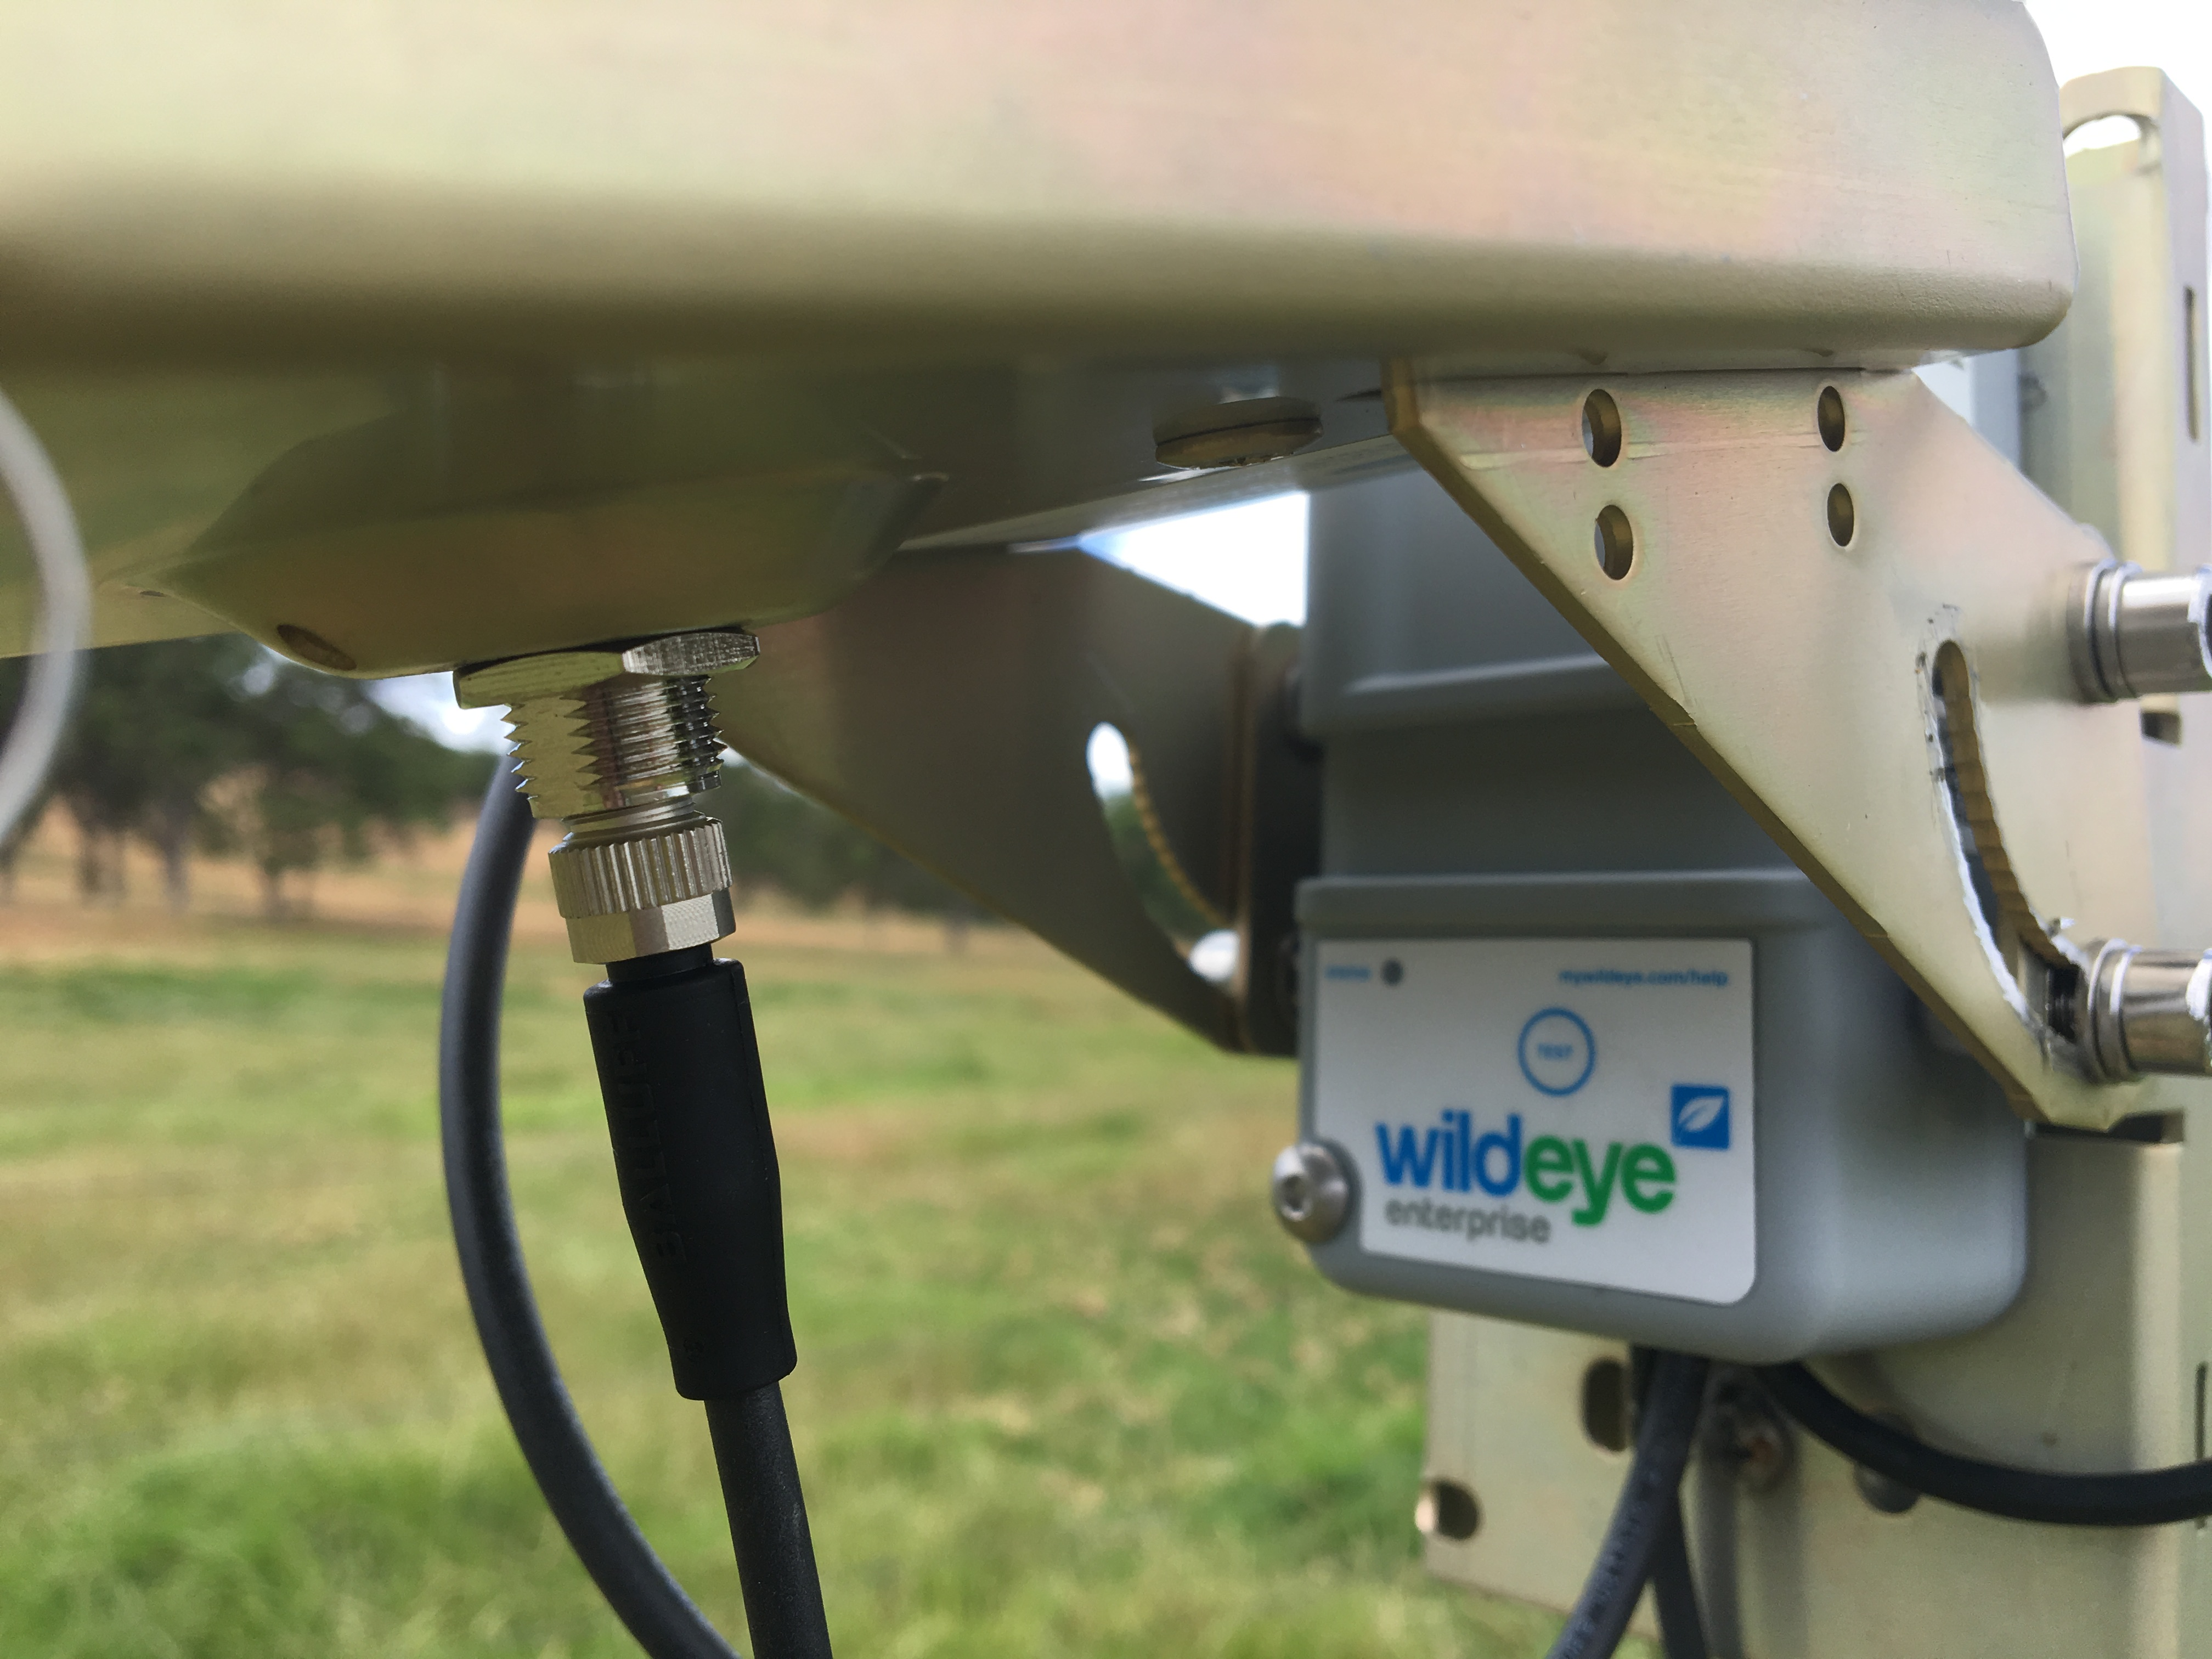
If 4G phone signal is poor in your area and you have a high gain antenna at your disposal then take off the stubby antenna and screw on the high gain antenna. The high gain antenna will sit just above the data logger on the solar panel.
The solar panel with the logger connected to it should be secured to the pole first. This can be done by using cable ties or it can be screwed on.
From there you can attach the radiation shield which has the temperature and humidity probe secured to the under part of the probe. This can be facing in either a westerly or easterly direction when the pole is concreted in the ground. Ensure the U-bolt is done up nice and tight to ensure no movement during windy conditions.
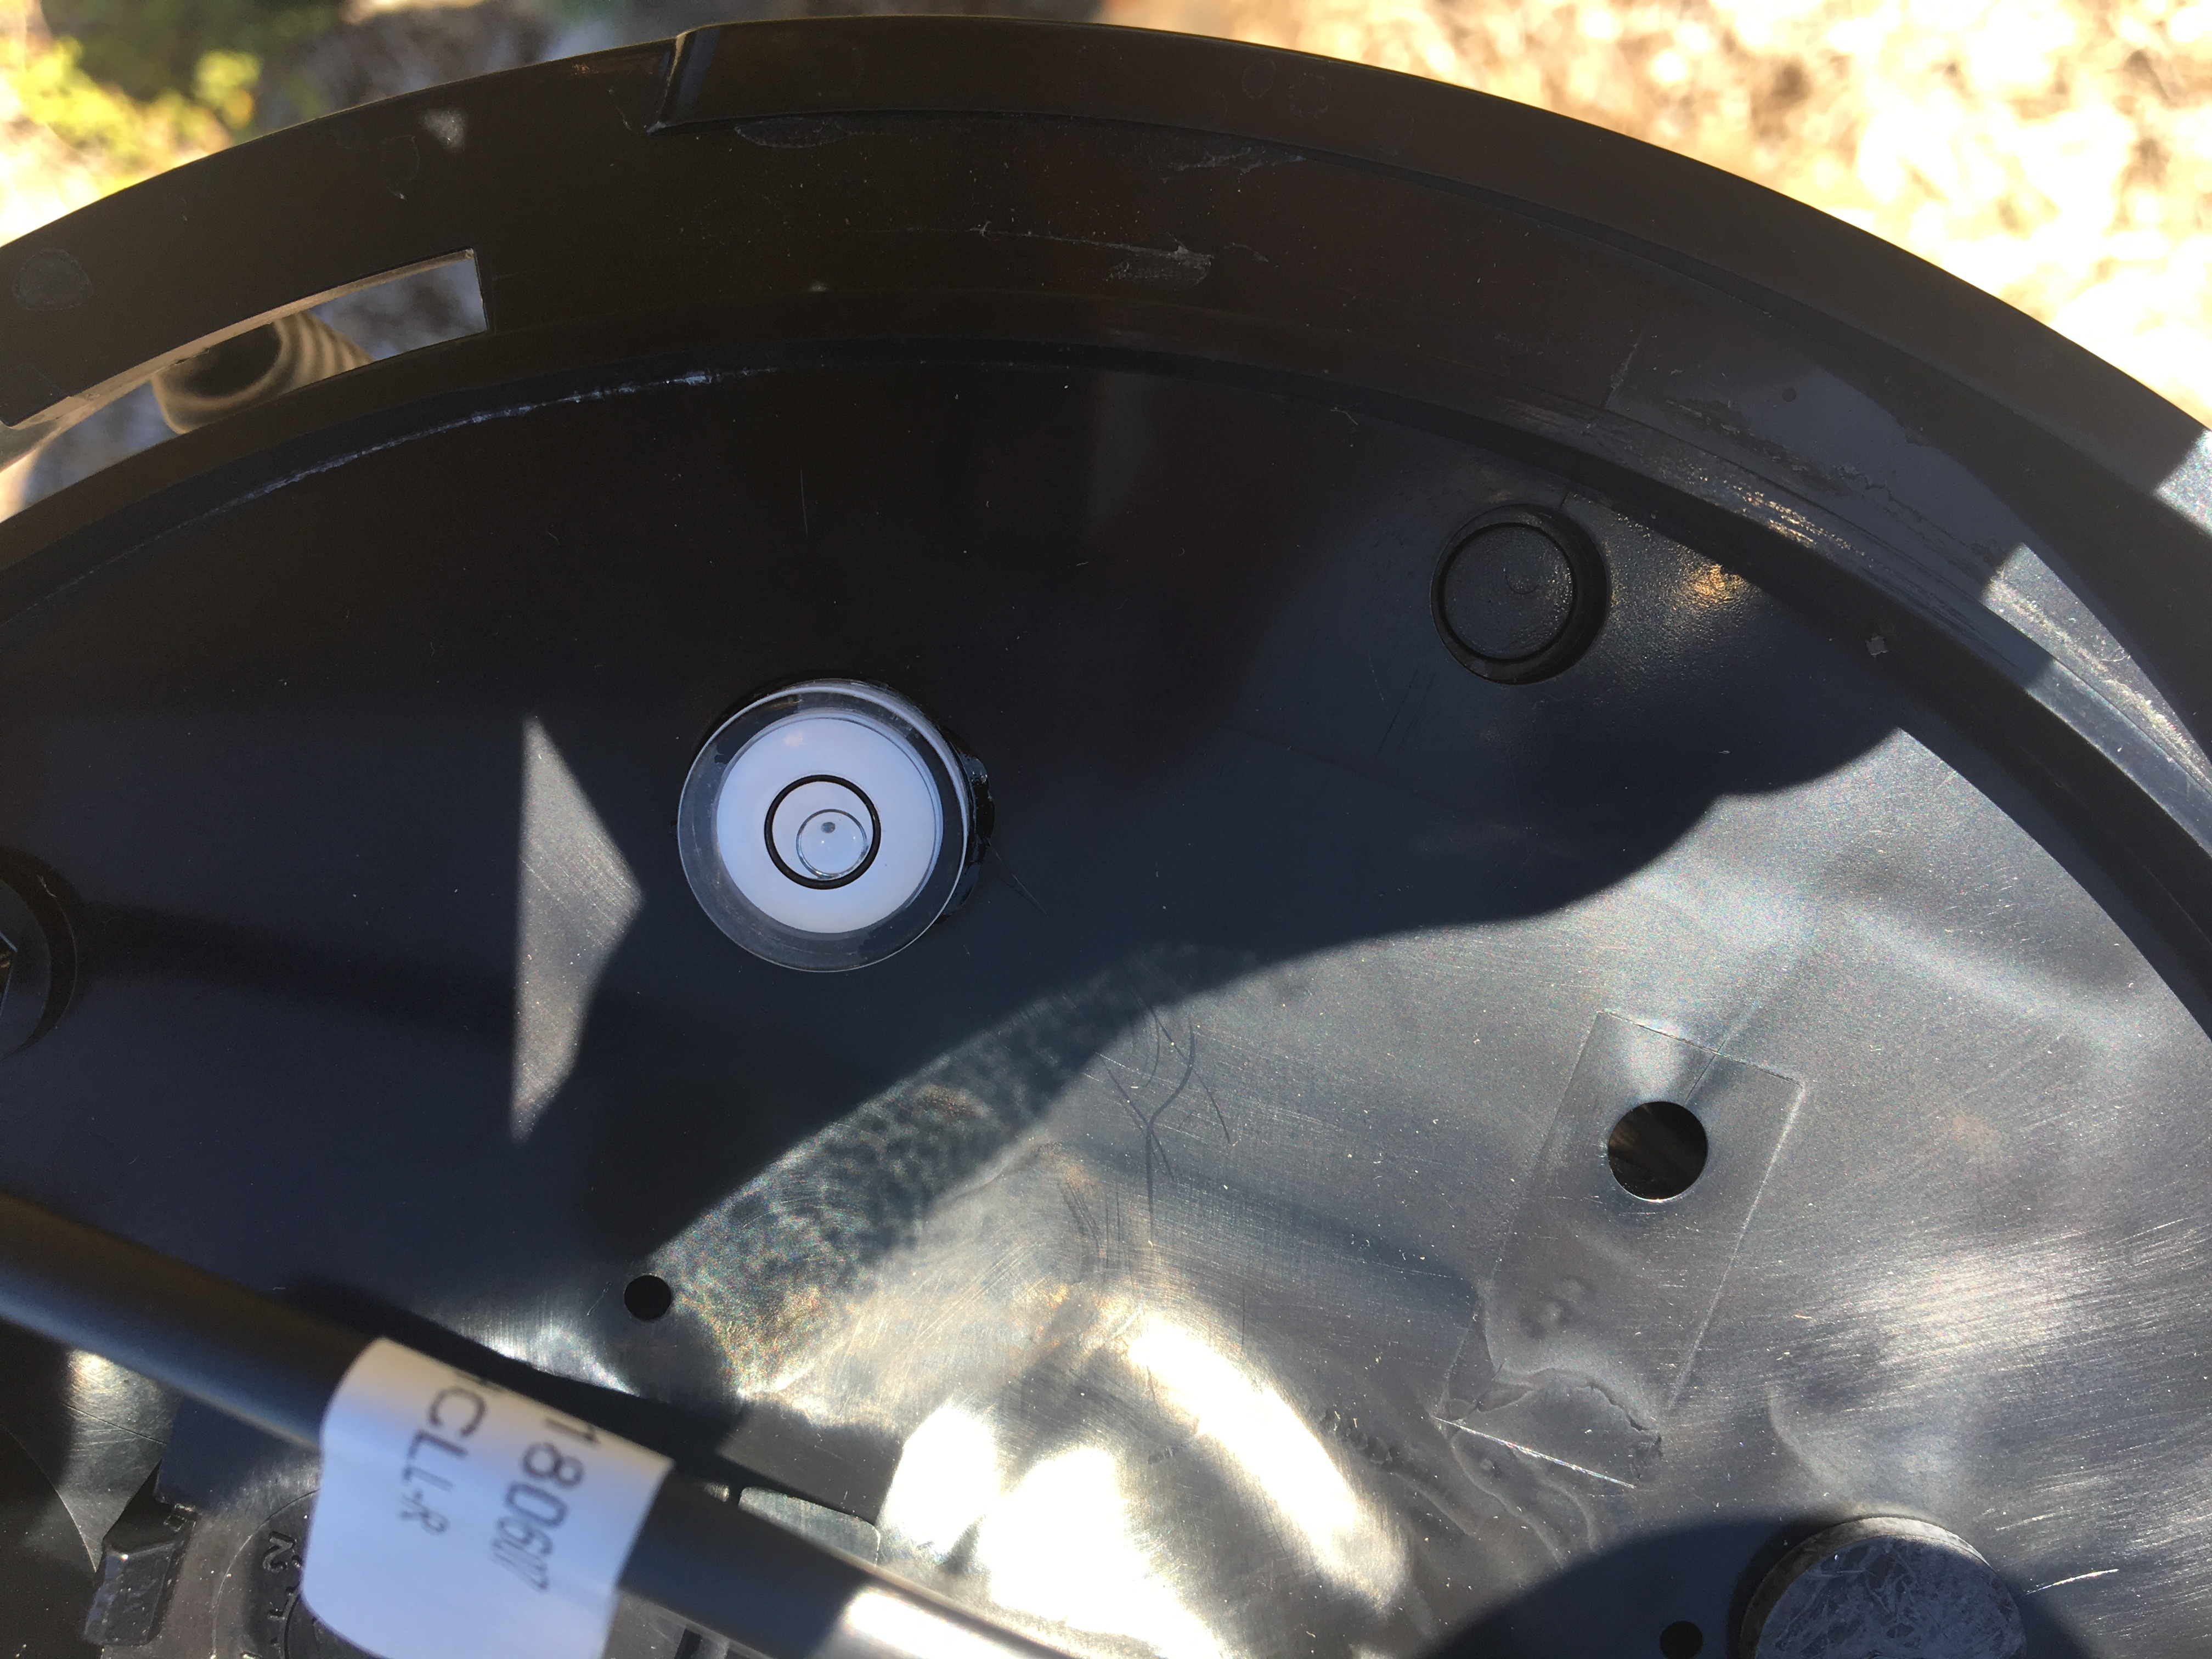
The rain gauge then goes above the radiation shield facing in a southerly direction. The bird spikes can be inserted into the holes at the top of the rain gauge as shown below. Please ensure the rain gauge is level when placing the weather station in the ground. This can be achieved by removing the lid of the gauge and making sure the leveling bubble is within the black circle. This is outlined below. Whilst the lid is off, please remove the cable tie which stops the tipping mechanism from working. The solar radiation sensor can be connected to the front of the rain gauge. This can be done using the mount and screws provided.
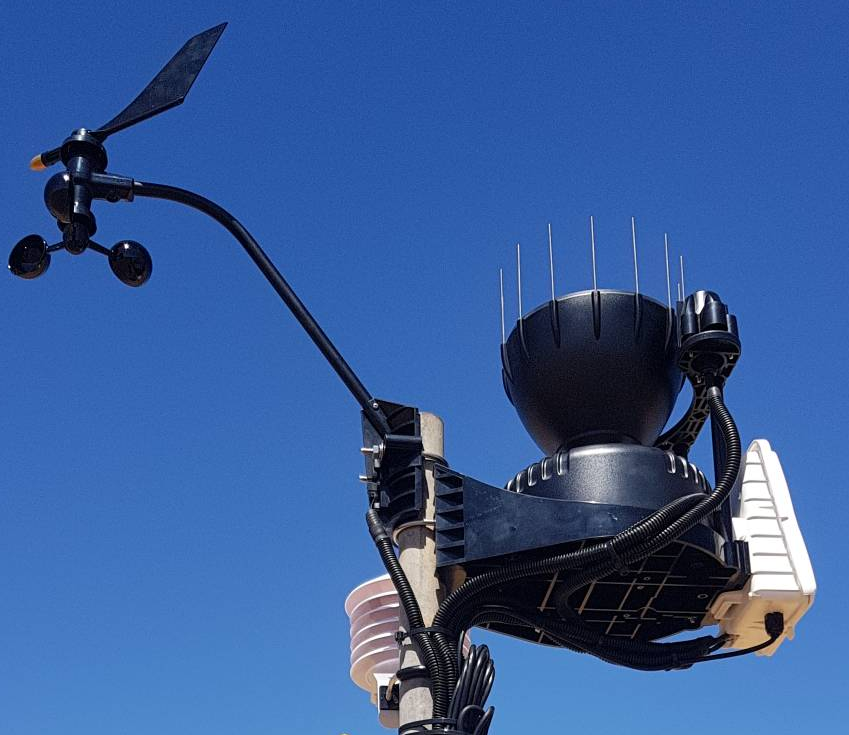
The Davis wind sensor can then be secured by a U-bolt at the top of the pole. When concreting the pole into the ground the wind arm should be facing due north.
Make sure all the plugs are correctly connected within the Davis white box (rain to rain, sun to sun and wind to wind). Each individual plug can be fed through the opening in the bottom right hand corner of the Davis white box and secure the white box to the front of the rain gauge
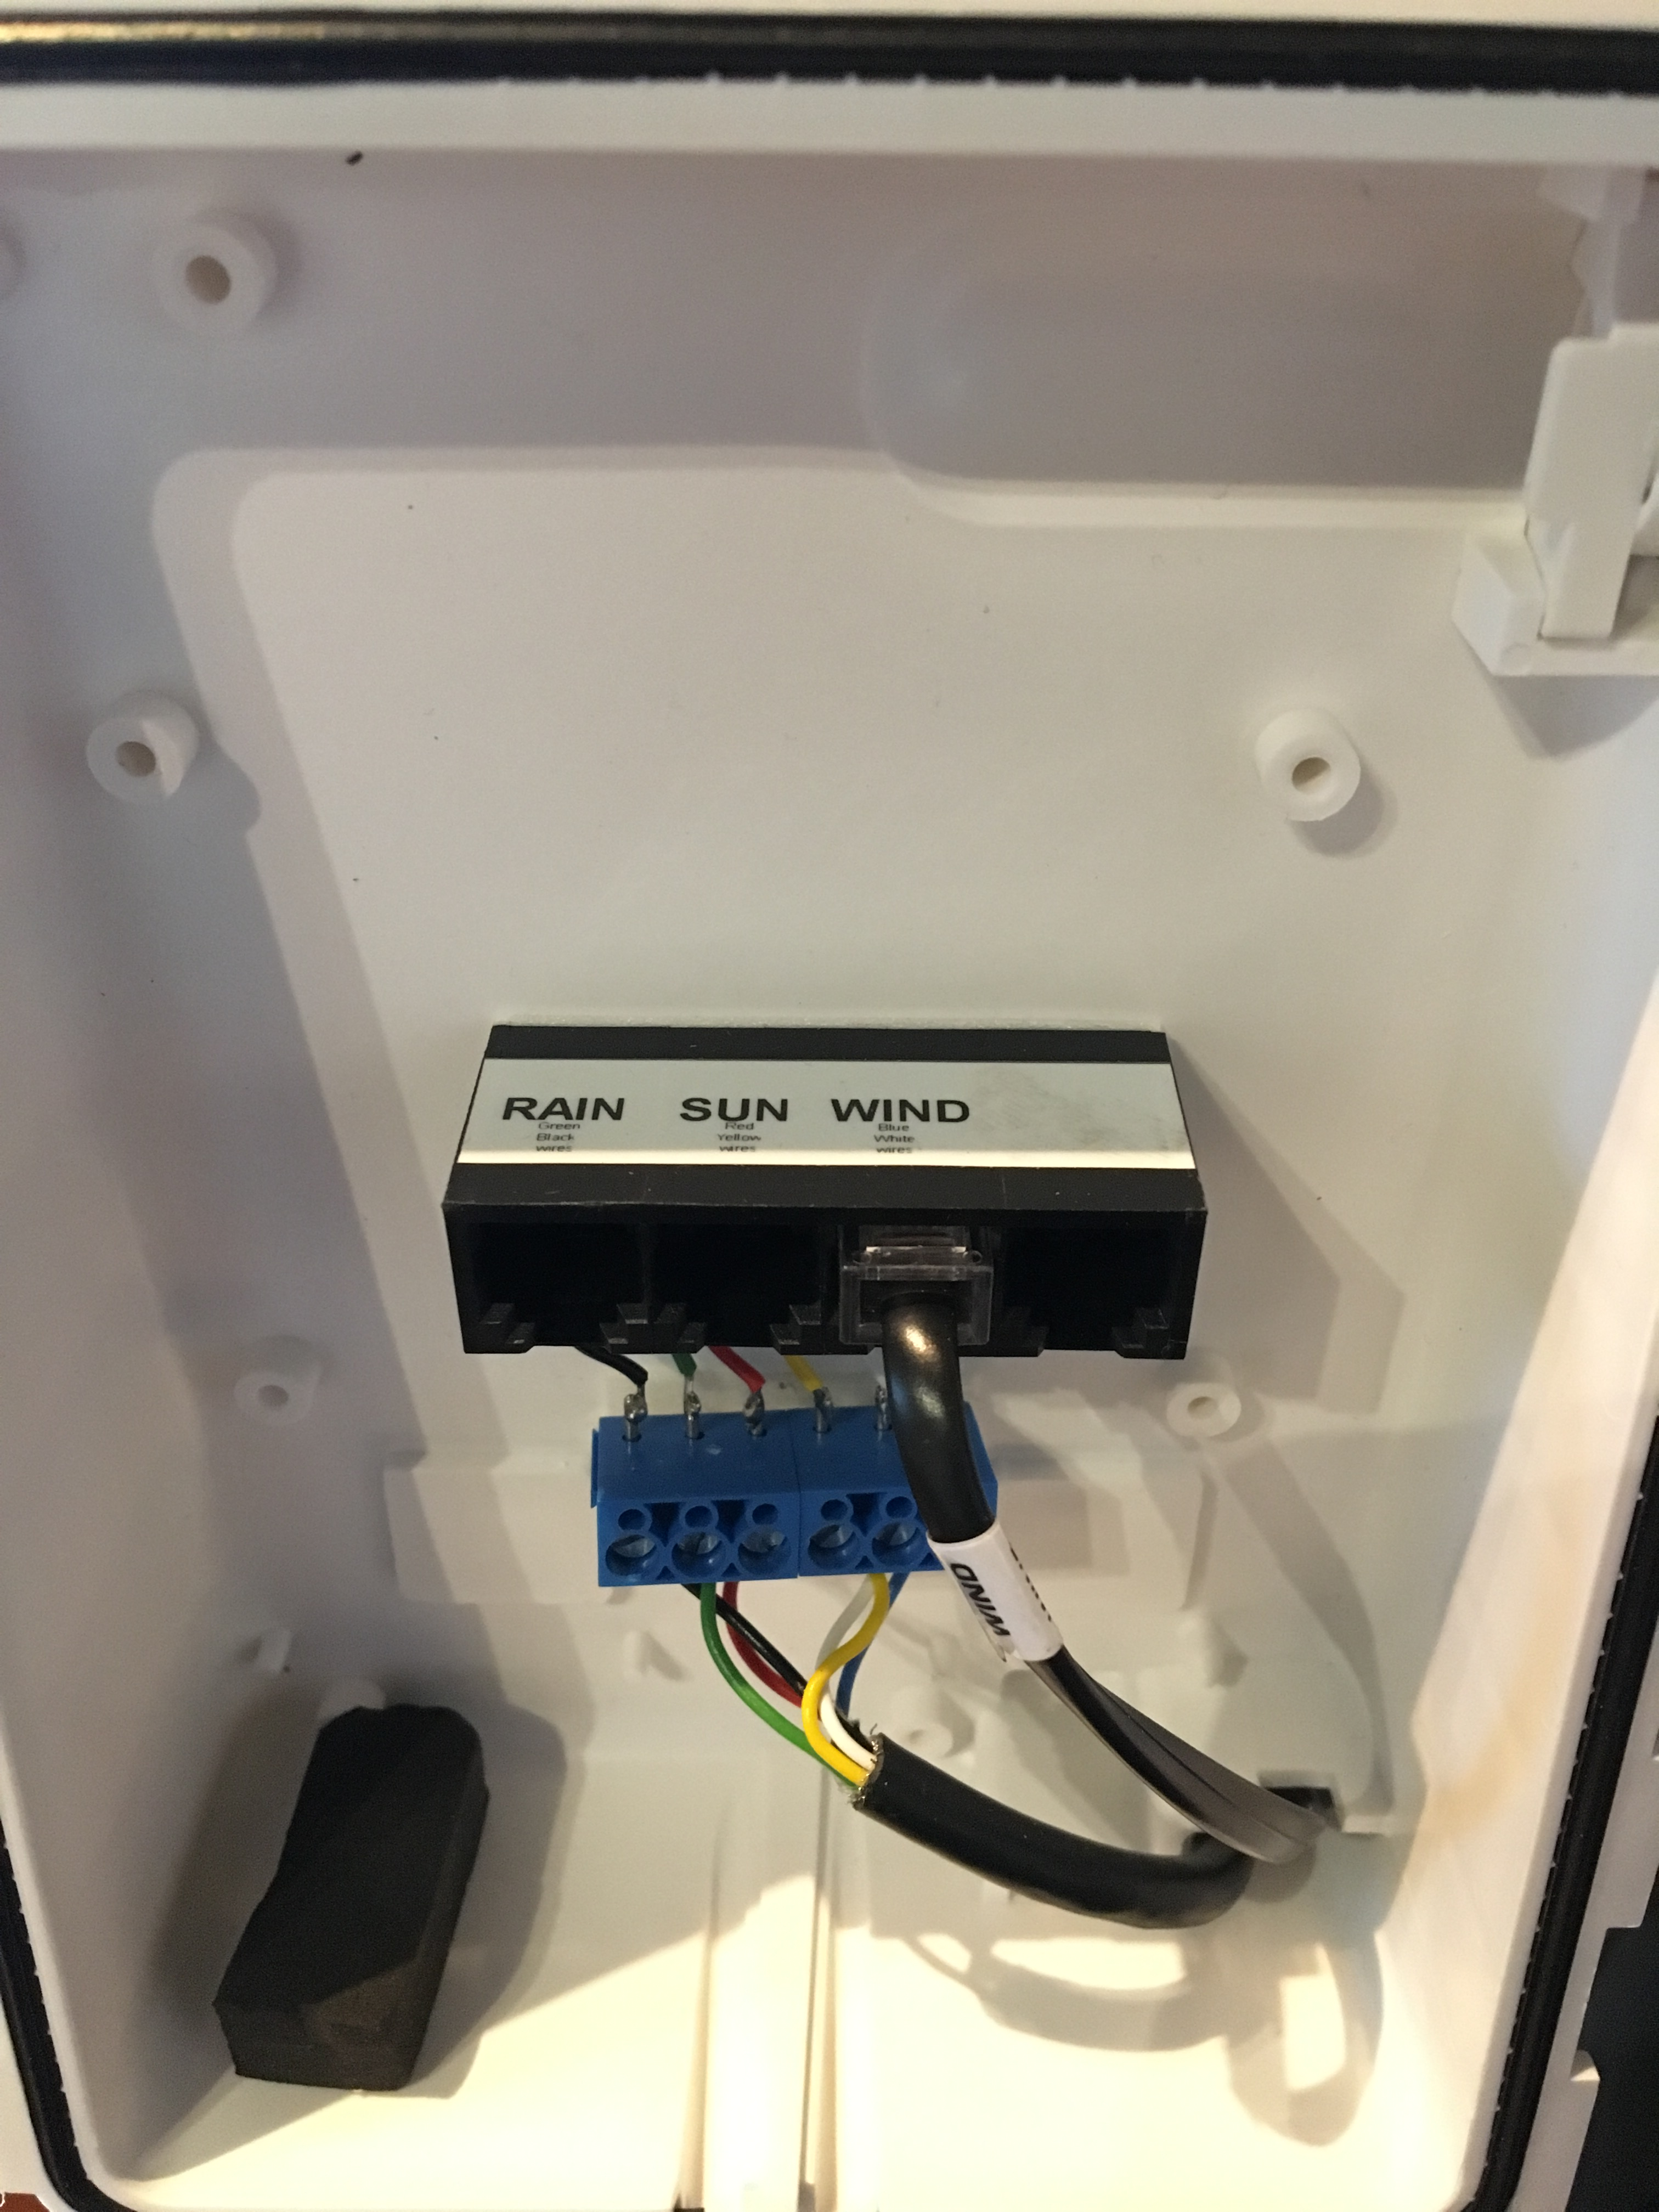
Secure all cables and wiring to the pole with cable ties making it look as neat and tidy as possible and to stop any rubbing.
Dig a hole where the weather station pole is to be inserted. The hole should be at least 75cm deep and 30cm wide. Insert the pole and then fill with concrete to ensure maximum rigidity. Please ensure the rain gauge is level during this step.
Hold down the test button for 5-6 seconds until the LED light stays solid blue - this indicates the logger is on and working.
Please take note of the important notes below - particularly the sturdiness of the pole and the direction of the wind sensor (north).
Important notes:
Make the pole as rigid as possible to eliminate any movement due to wind.
There is a leveling bubble on the inside part of the rain gauge - when installing make sure the bubble is inside the black circle which will mean the rain gauge is level - there is also one on the solar radiation instrument that sits on the outside of the rain gauge, this can be made level by altering the height of the three screws that secure the solar radiation device.
The arm of the wind sensor should be facing due north and sit ~2m above the ground.
Try and face the solar panel north so that it can get maximum sun exposure.
Use the higher gain antennas if you think the reception will be poor.
When all set up, hold down the "test" button on the wildeye data logger for 5-6 seconds until the blue flashing light goes constant. Once constant blue it should then flash blue until it goes green.
For further details on how to install an effective rain gauge, please see here
For further details on how to install an effective temperature and humidity probe, please see here
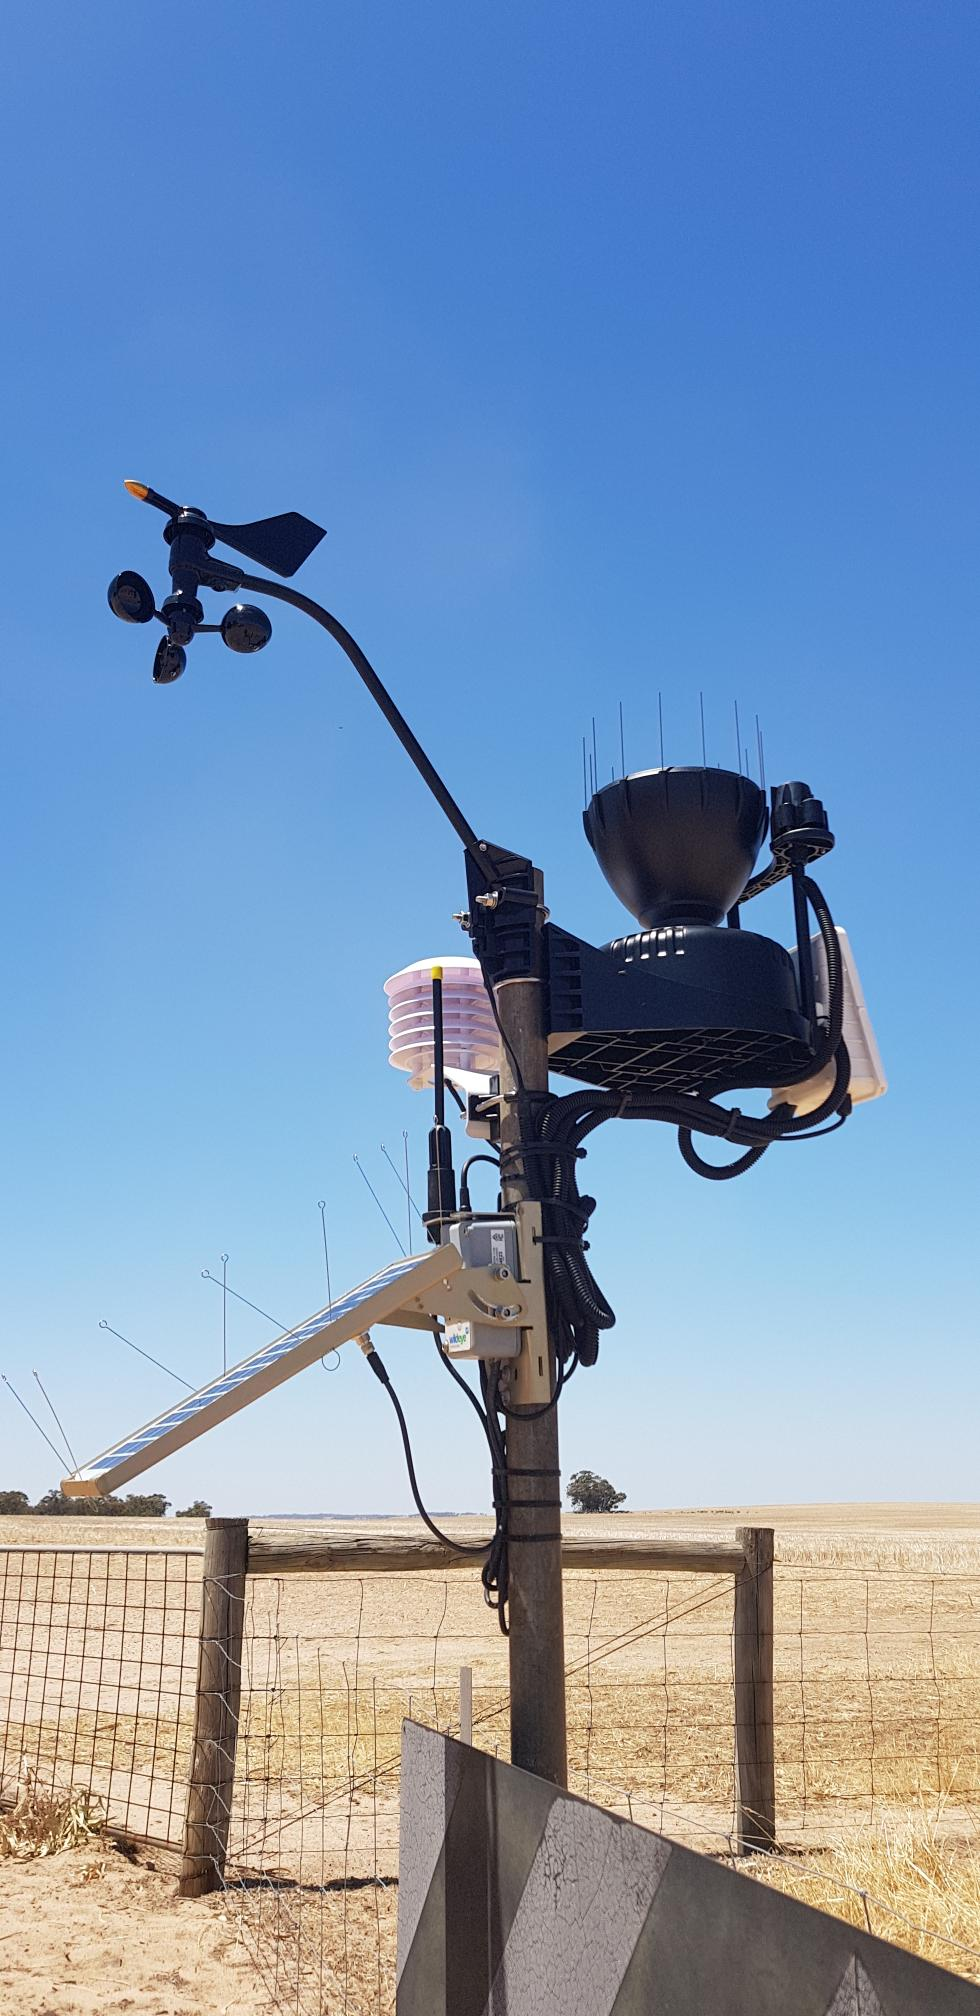
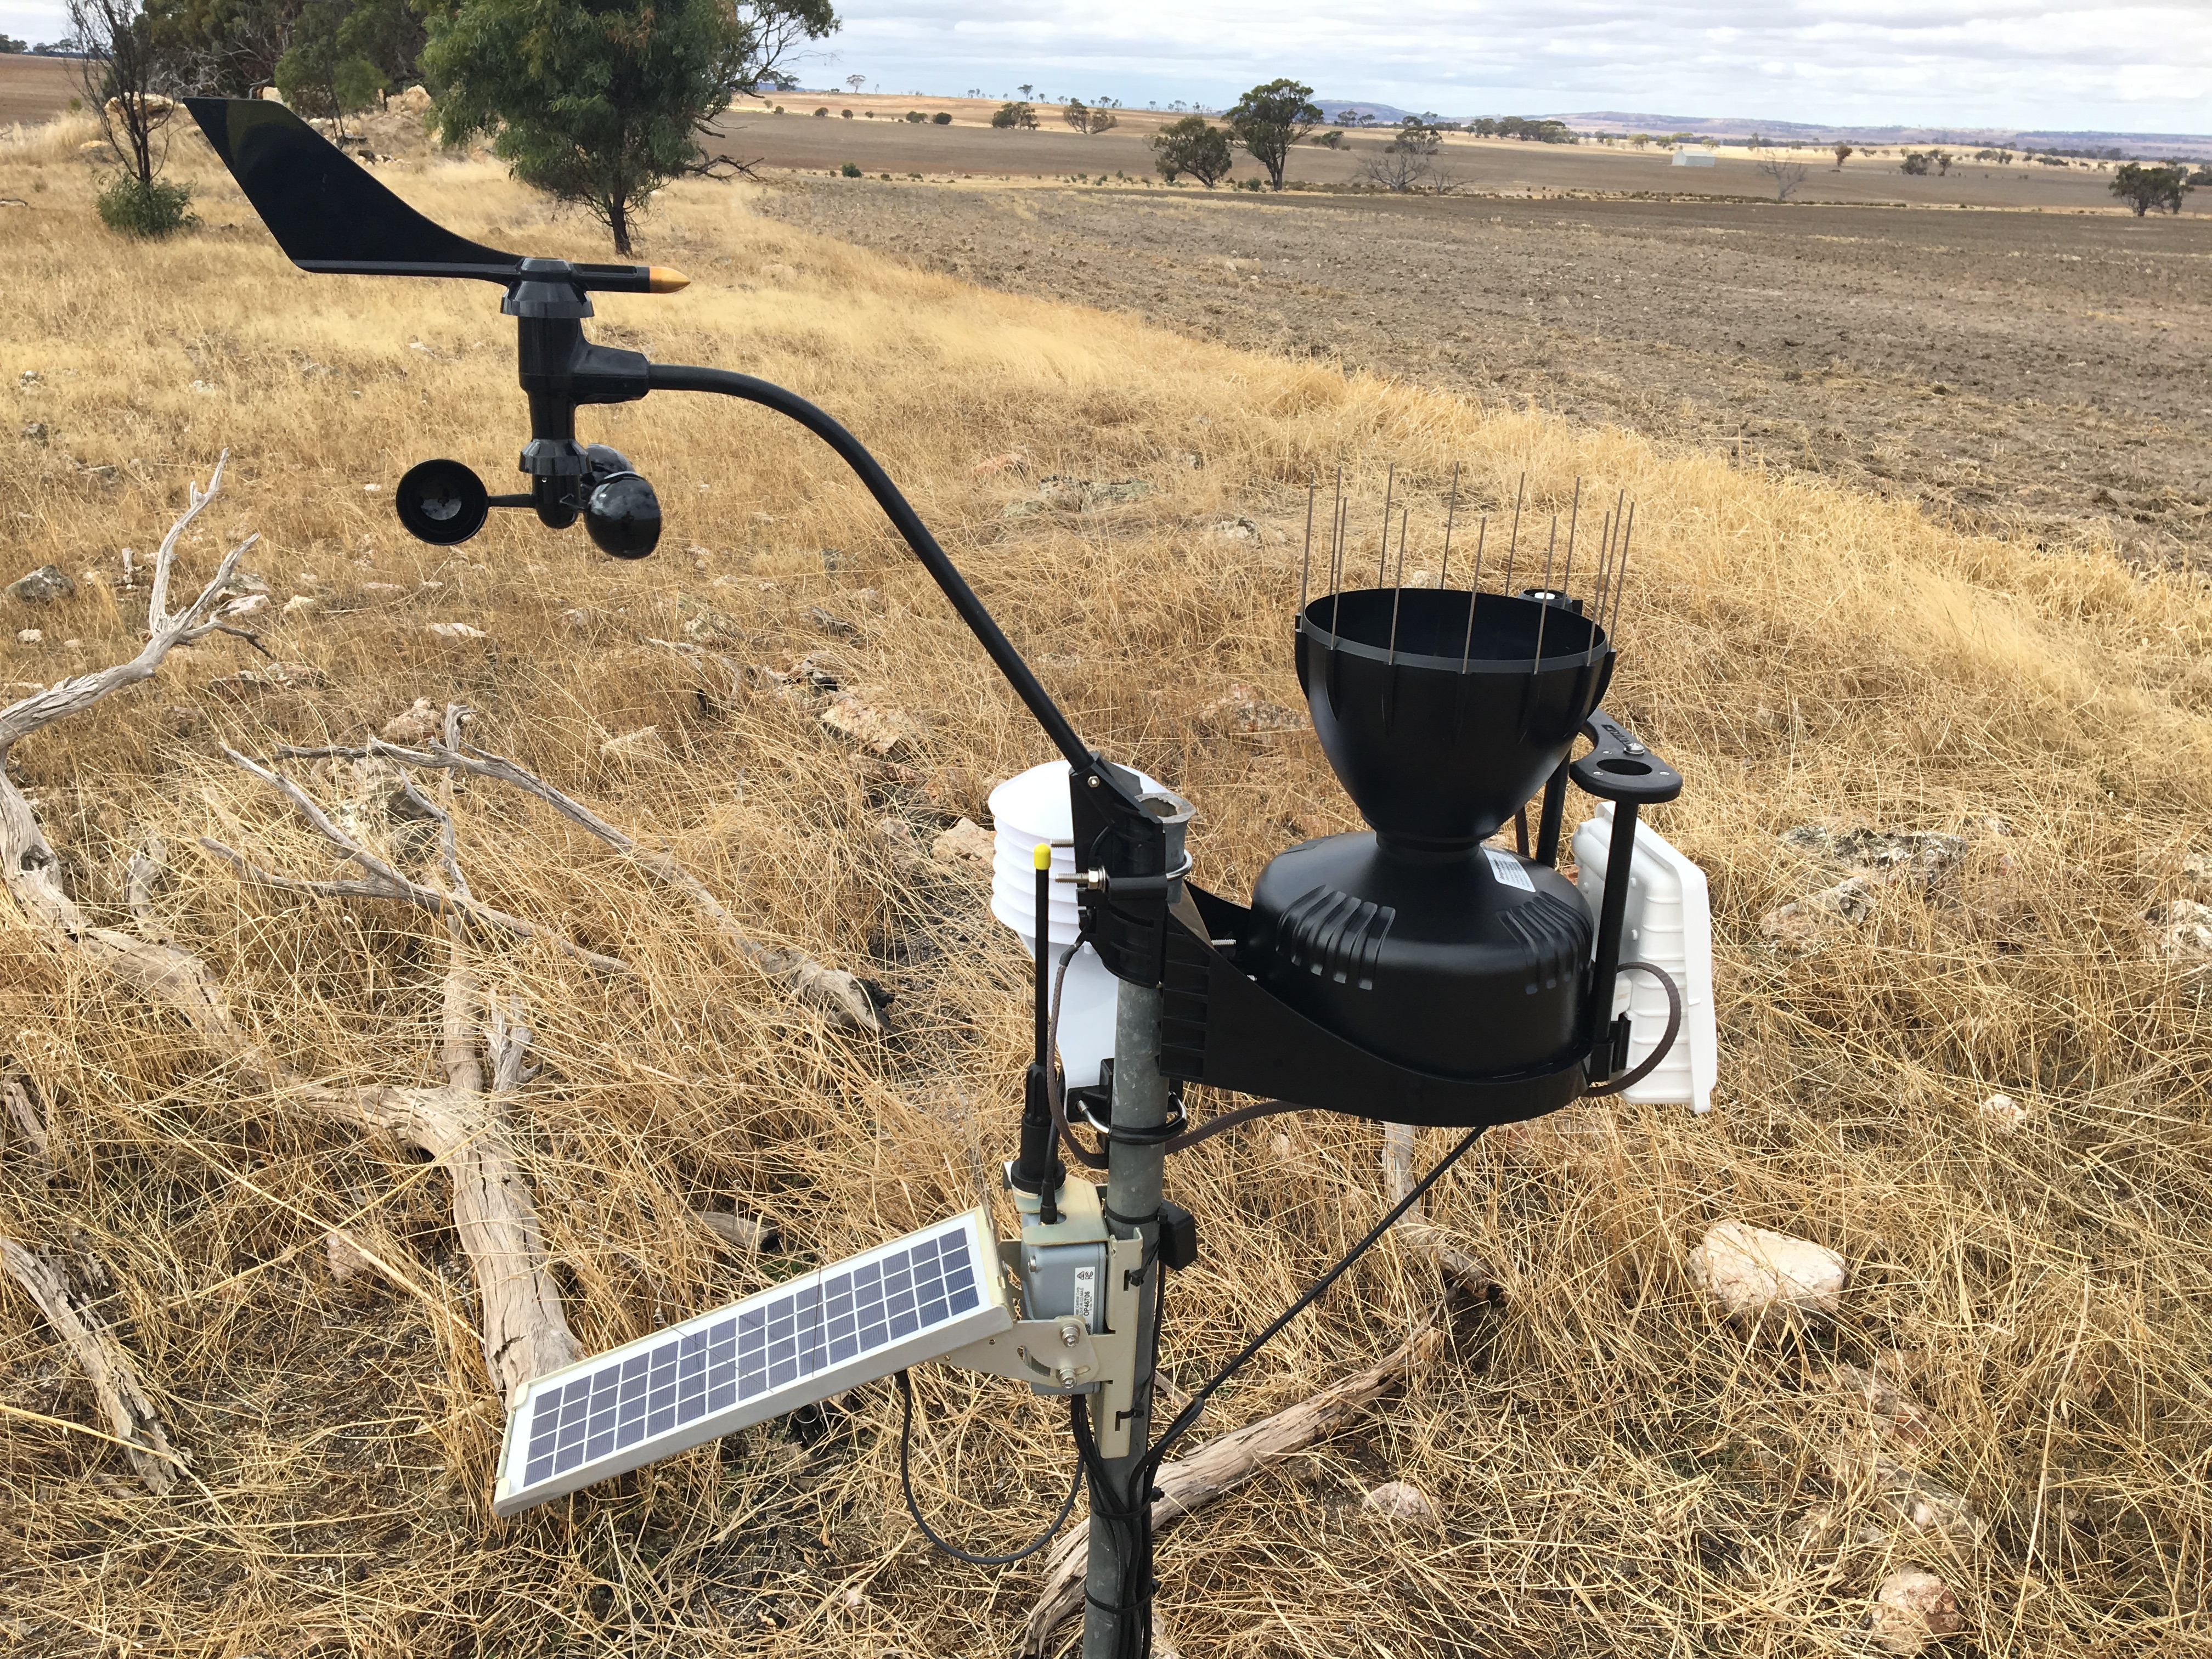
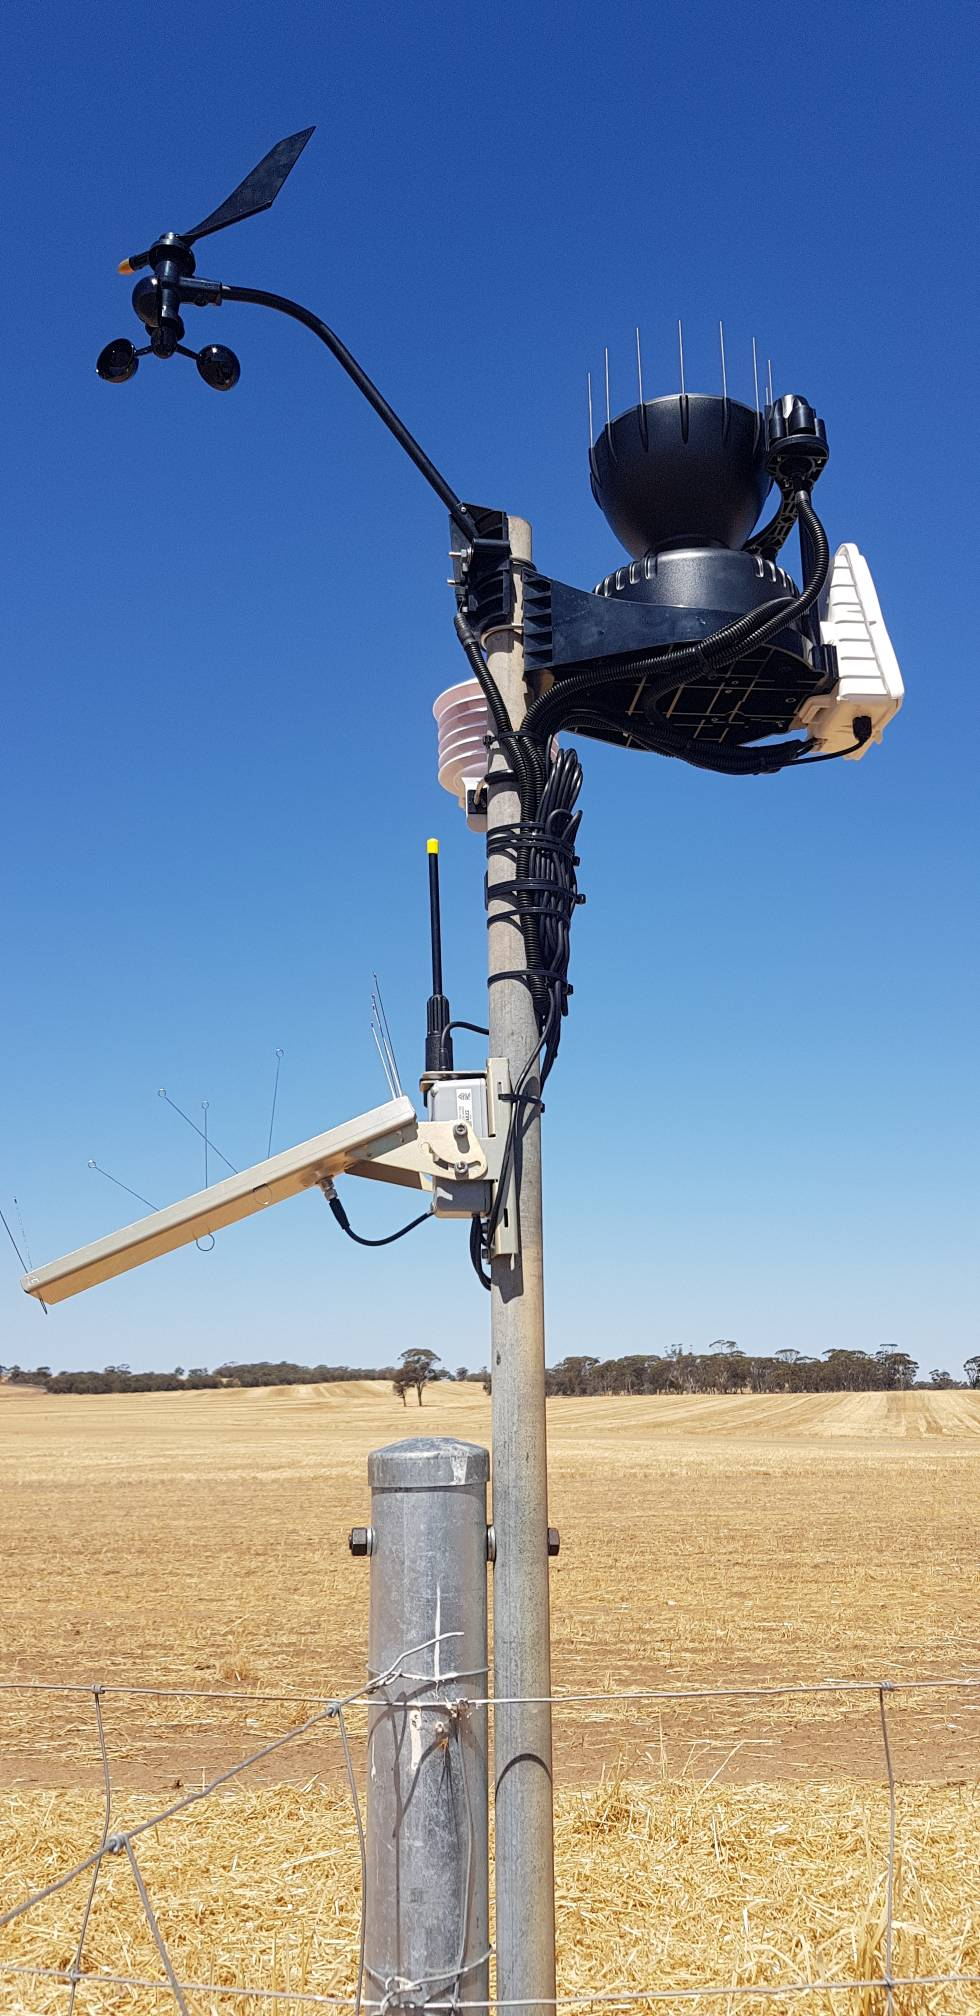
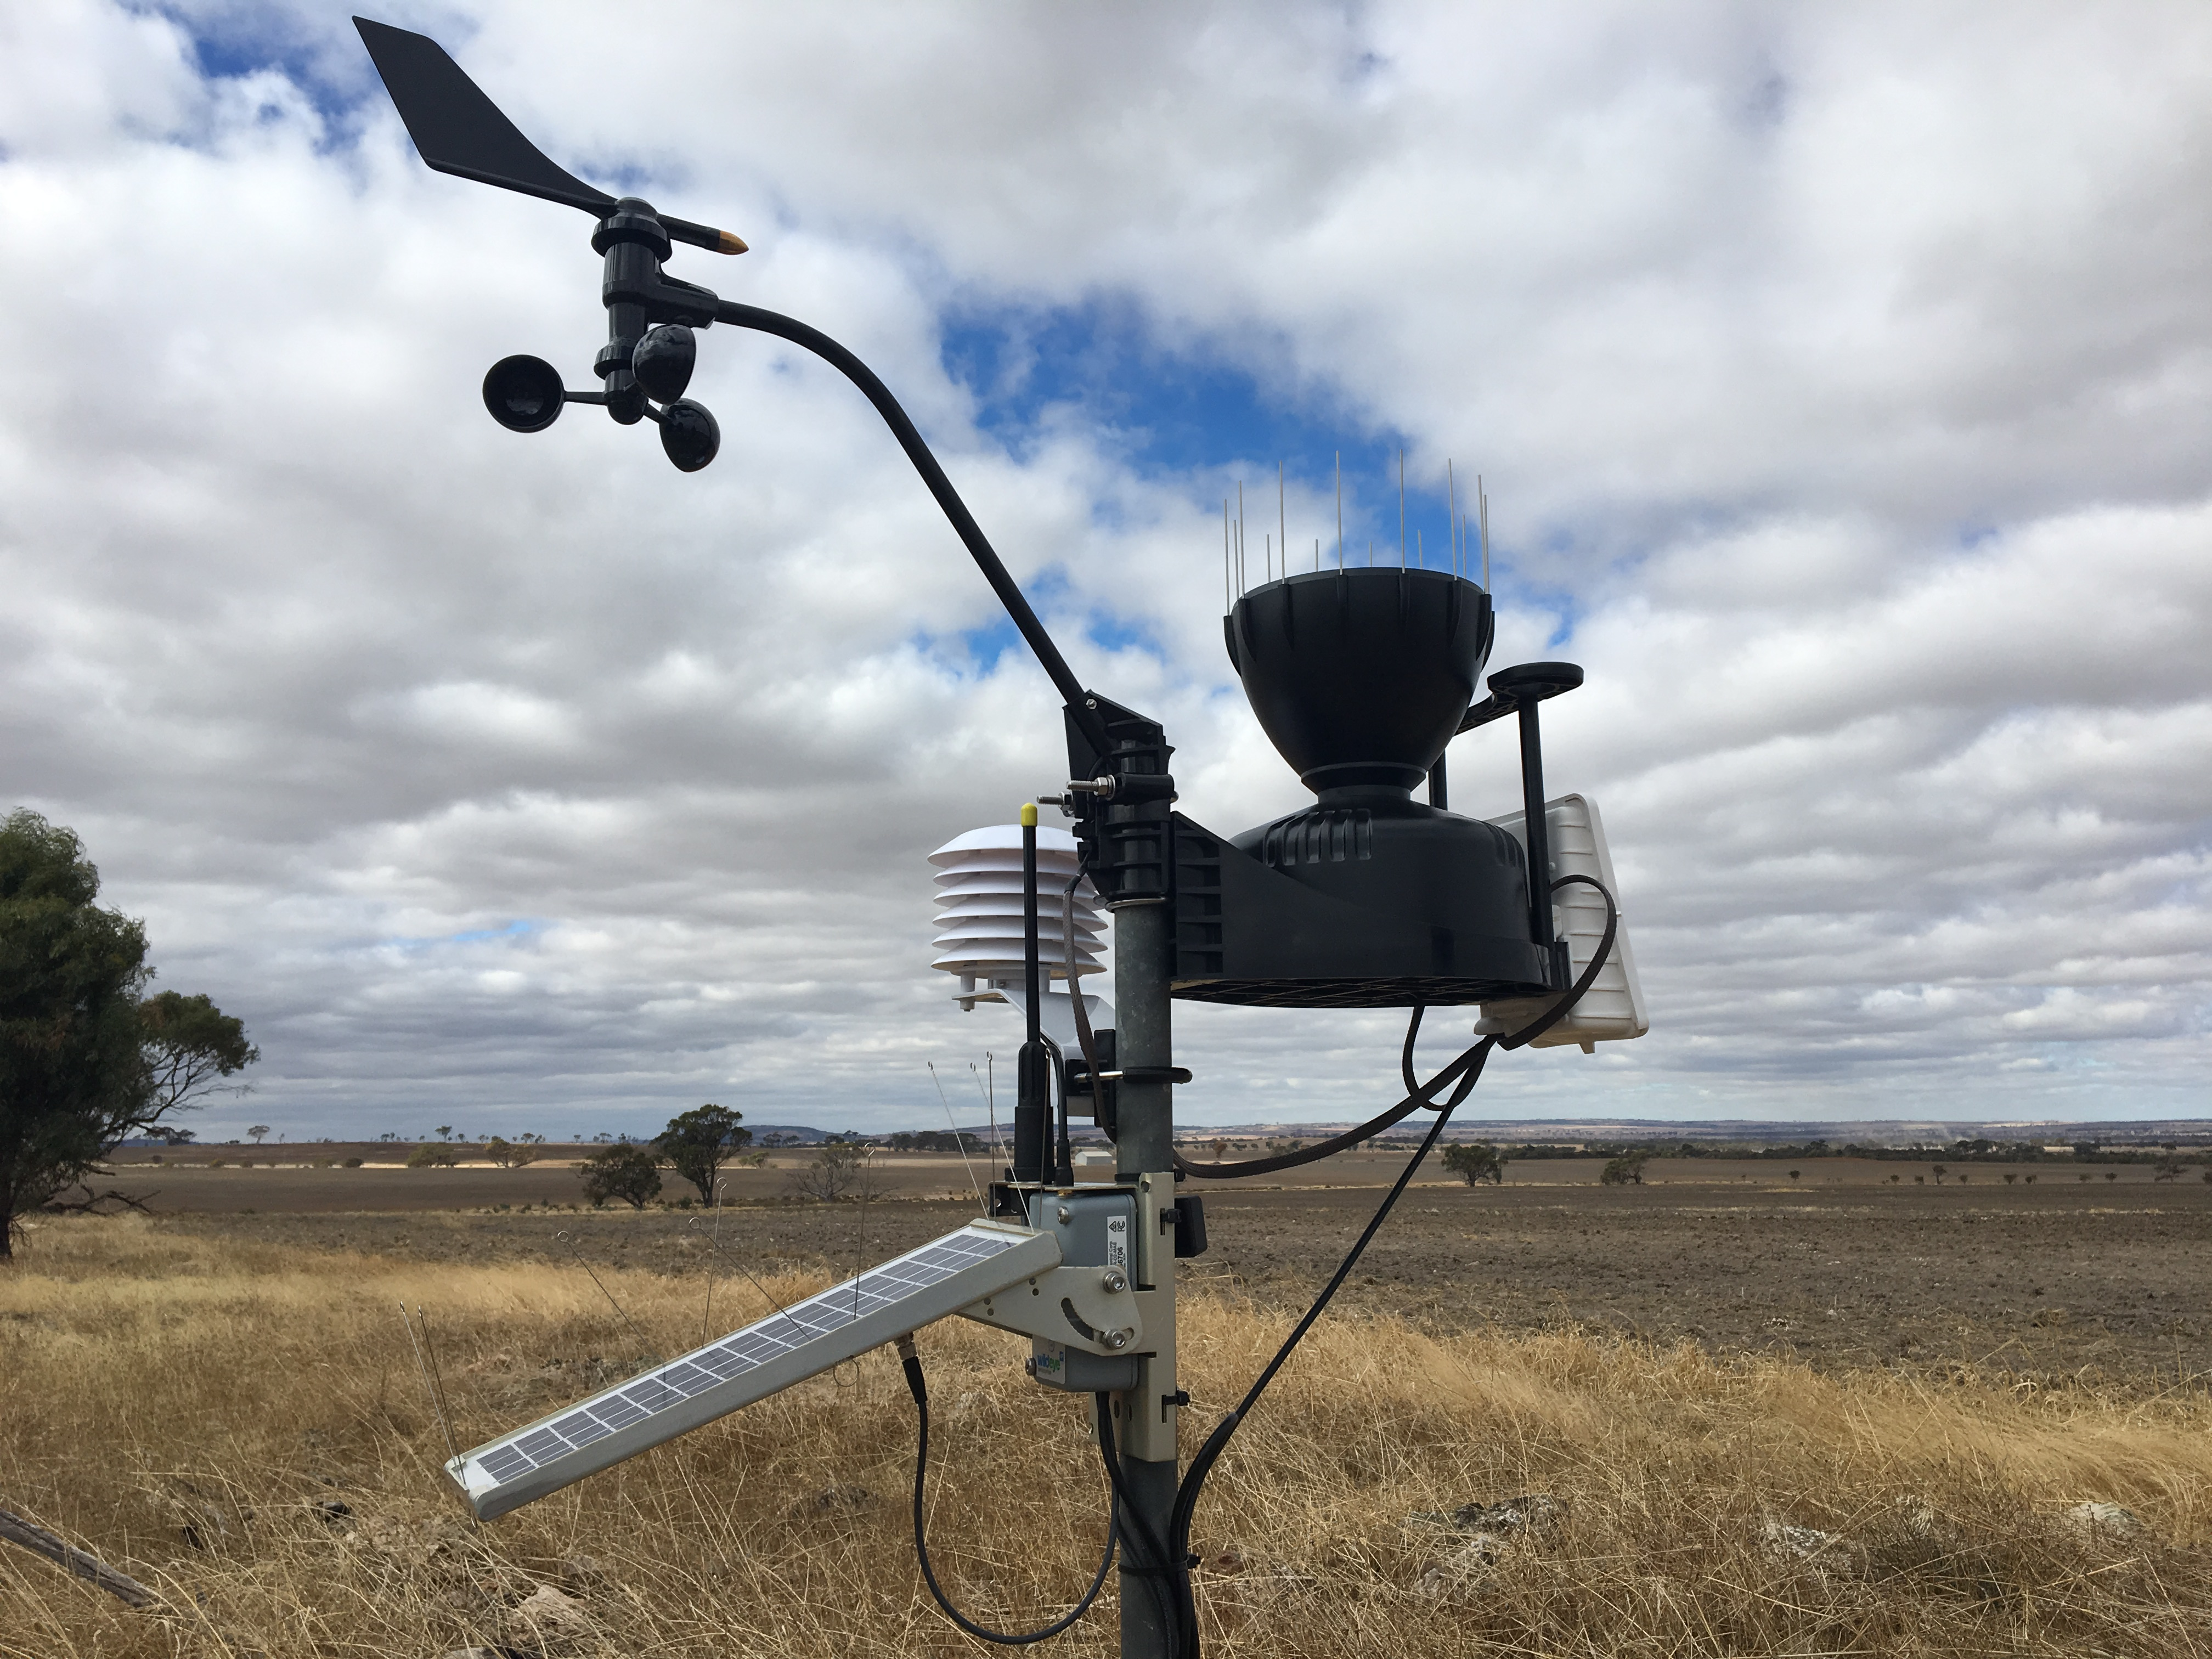
Photos of fully set up weather stations
