Getting started
Anatomy & Functions
Click on a link below to find out more
Product Variants
The Wildeye logger comes in a few variants, defined by its product code, shown on the product label. See full details on the Model Numbering System, or you can refer to the article on Standard Wildeye Products to discover which standard Wildeye suits your application.
Activation & Operation
When you first receive your Wildeye it will be in Transport Mode. This is a power-savings mode where radio communication and sensor logging is inactive. To Activate a Wildeye from Transport mode, press and hold the front button until the rapid blue flashing LED turns solid blue. The Wildeye will then attempt a connection. More info: How to Activate a Wildeye - Status LED Sequences
Once a Wildeye has been activated out of Transport mode, the attached meters and sensors are measured periodically (configurable) and saved in memory, and then sent to the Wildeye cloud servers usually every 2hrs (configurable) via the cellphone network. An immediate upload can also be initiated by pressing the front button anytime.
Web Portal and Smartphone App
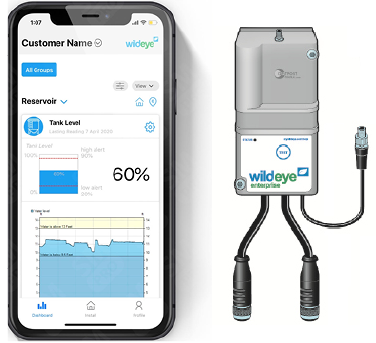
Once your Wildeye is installed and collecting data, you can view this data in graphs, reports and maps through the Web Portal or smartphone App software.
All configurations can be performed remotely through the Wildeye Web Portal or smartphone App. You can learn more about how to setup and use the software in the article
Device Configuration & Setup overview

Connecting Meters and Sensors
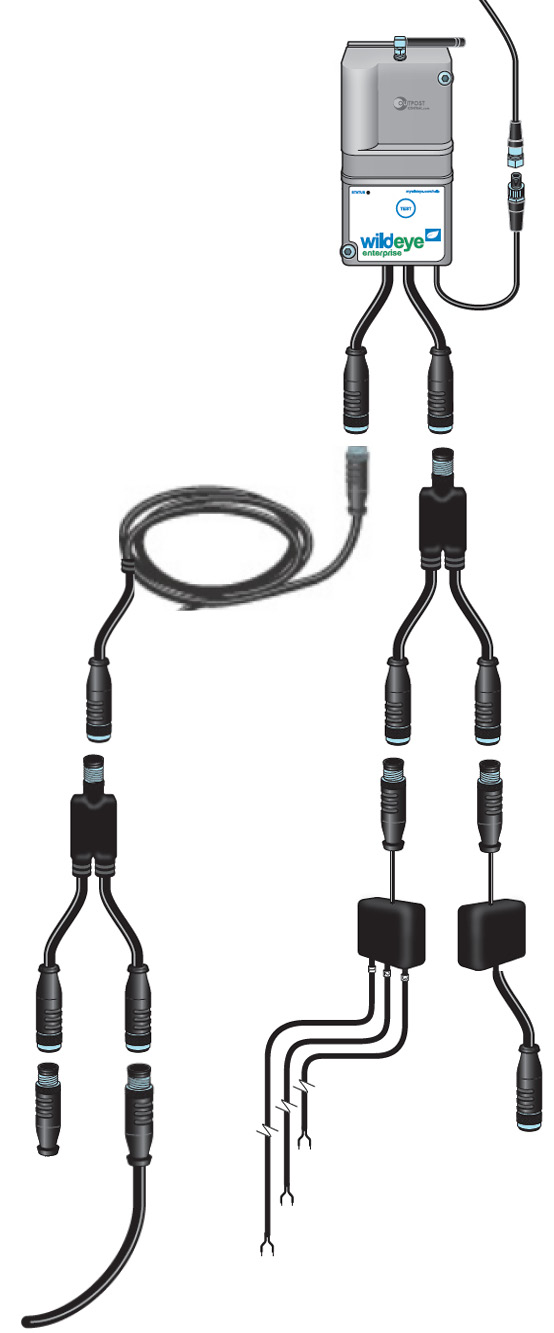
A Wildeye has 1 or 2 physical input cables, containing one or more built-in input channels for attaching meters & sensors.
Expander modules allow additional input channels to be added to a Wildeye. An expander module has between 1 and 4 physical cables each containing one or more input channels.
For details on supported meter/sensor interfaces, see Supported Meter/Sensor Channel Types
For how to physically attach meters/sensors to your Wildeye, see article Wiring and Connectors.

Charging
Wildeye loggers with the -R feature (rechargeable) should be connected to a power source to keep the internal battery topped up. This could comprise of a solar panel, a high-capacity external battery pack, or mains power supply. The Charge LED flashes when a suitable external power source is connected. More info: External Power Supply Options (incl Solar Panels)
WILD-M-R = "Rechargeable" Internal Battery
WILD-M-B = "Long-life" non-rechargeable Internal Battery
Cellphone network & Antenna’s
All new Wildeye Loggers run on the 4G cellular network, of which there are 2 versions that are purpose-built for communicating with remote meters and sensors:
Cat-M (also known as LTE-M in some countries)
NBIoT (Short for Narrow Band IoT).
Both of these networks are sometimes collectively referred to as IoT (Internet of Things) networks, or LPWA (Low Power / Wide Area) Networks.
You have to be careful to use the correct external antenna for the Network that you are connecting to. The Wildeye 4G device is "Multiband" (can operate on the different radio frequencies that different cellular operators adopt), however the external antenna is generally tuned to operate on specific frequencies.
You can read the article on Antenna Selection to learn more.
Installing your Wildeye
There are a few important considerations to keep in mind when installing your Wildeye, to ensure trouble free, long term operation. These include optimal antenna positioning and making sure the sensors have good waterproof connections. It is also important to use the Wildeye app to record the GPS location of your installation and take lots of photos of the site and sensors so that Wildeye support has as much information as possible if remote support of future issues is required.
You can read the article about Installing your Wildeye for more information.
